
or how this blog was made.
I was in search of a Markdown based blogging platform that I could use for free. Jekyll and Github Pages is really nice, but the lack of a web/app interface to write stuff is rather limiting at times.
Fortunately, there's Heroku and Ghost. Heroku lets you run small scale web apps for free and with some configuration, you can get Ghost to run on it.
Prelimiaries
For the free databases to work, billing needs to be setup on your heroku account. Create your heroku account, and install the command line tool and enable billing. On top of being able to use addons, you get more free dyno hours too! Don't worry, everything used here is free.
Getting a bare minimum blog working
Once you have done all the preliminary stuff, paste the stuff below and you'll have a (mostly) working blog!
Copy and paste without knowing what's going on? Who cares.. I've comments if you are confused
APP_NAME=ghostblog

#Download the archive, newest available at https://ghost.org/developers
wget https://github.com/TryGhost/Ghost/releases/download/1.24.8/Ghost-1.24.8.zip
mkdir $APP_NAME
cd $APP_NAME
unzip ../Ghost-1.24.8.zip

#Create a git repo and commit
git init
git add -A
git commit -m "Initial everything"

#The heroku command will create the app and set up the git remote
heroku create $APP_NAME
#pushing to heroku will automatically deploy the website
git push heroku master

#Free DB plan (kitefin) from JAWS DB
heroku addons:create jawsdb:kitefin

#JAWSDB_URL is set by the addon after the previous command
DBURL=`heroku config:get JAWSDB_URL`
#This returns mysql://<user>:<password>@<server>:<port>/<database>

#Some regex magic to get the params from the address
DBUSER=`sed 's/.*\/\(.*\):.*@.*/\1/' <<< $DBURL`
DBPASS=`sed 's/.*\/.*:\(.*\)@.*/\1/' <<< $DBURL`
DBSERVER=`sed 's/.*@\(.*\):.*/\1/' <<< $DBURL`

#These config vars corresponds to database.connection.* if set in config.*.js
heroku config:set \
    database__connection__user=$DBUSER\
    database__connection__password=$DBPASS\
    database__connection__host=$DBSERVER\
    database__connection__database=${DBURL##*/}

#Initialize the database with Ghost's initializer
heroku run knex-migrator init

#Set some server parameters
#Heroku seems to start on random ports
echo export server__port=\$PORT npm start > .profile
git add .profile
git commit -m "Server port config"
git push heroku

#Listen on all addresses, url is read by engine to provide a "Home" link
heroku config:set \
    url=https://$APP_NAME.herokuapp.com \
    server__host=0.0.0.0
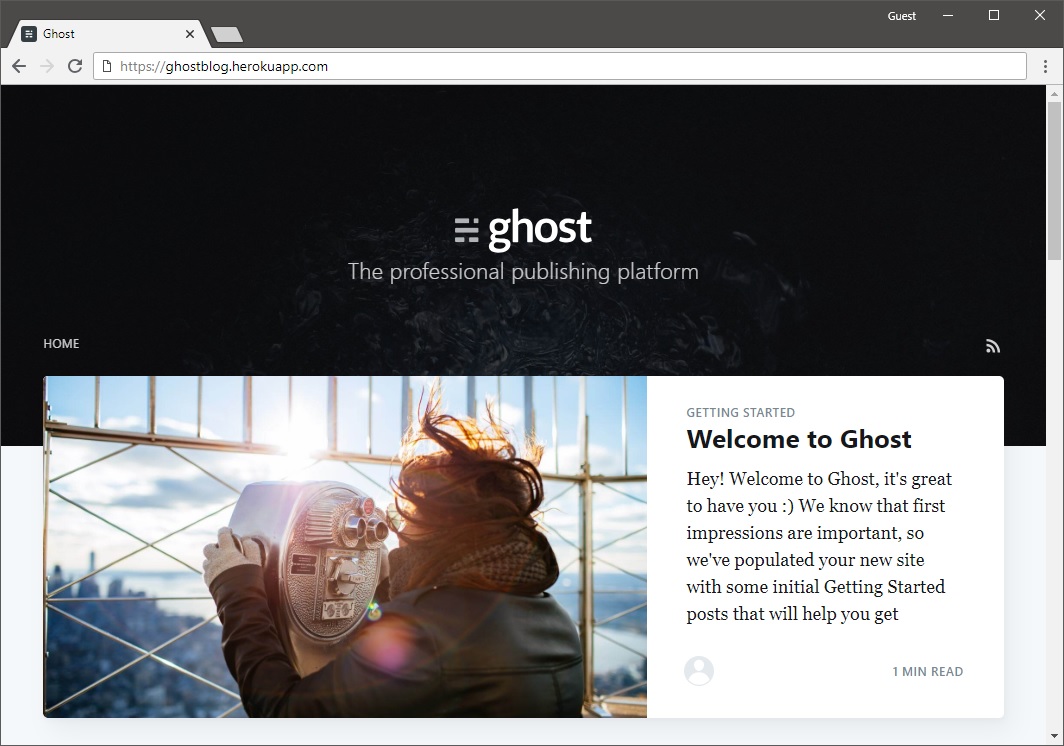
After this you should be able to see your pretty Ghost site at https://$APP_NAME.herokuapp.com!
Configuring the site
Now that all is done, you should be able to access your admin page at https://<app-name>.herokuapp.com/ghost. When you first access this, you will get to create your account and stuff. Next, you probably will want to delete the "Ghost" user to get rid of the example posts.
If you aren't planning to upload any images through Ghost's interface, you are done! If not read on.
SSL, because the Internet is dangerous
If your are using Heroku's subdomain (i.e appname.herokuapp.com) SSL is automatic. Heroku will only allow you to configure SSL certificates if you upgrade to a paid plan. However all is not lost, use Cloudflare as your DNS and you'll get free SSL from Cloudflare. This is as simple as setting the CNAME entry of your site to appname.herokuapp.com.
After doing this, you might want to change the url config variable to point to your custom domain.
Getting file uploads to work correctly
Web apps in Heroku runs in an ephermeral VM. Once shutdown, file are lost. This means that images that are uploaded will stop existing once your app shuts down due to inactivity. Fortunately, Ghost allows custom storage adapters, meaning we can make use of some free services on out there.
I chose to base mine on ghost-github.
However, the author's documentation stated that you are required to have your access tokens/passwords in the config file, stored in clear, and perhaps inadvertantly on some publicly accessible repository like Github.
To add files to github programatically, you will need to get a personal access token from here.
Aside: you probably want to create a separate machine user and share the repo with this user for this purpose. Obtain the token for this machine user[1].
Note: Assets repo seems to need to be a public repo. The adapter generates some access token if the repo is private, but it doesnt seem to work.
#Get dependencies in yarn.lock and packages.json
yarn install ghost-github

cd content/adapters/storage
git submodule add https://github.com/moodoki/ghost-github.git

git commit -a -m "Add storage adapter"
git push heroku master

#Config vars read by the adapter
#if you are using a shared repo and a machine user,
#the REPO_OWNER should be set to the actual owner
heroku config:set \
    GHOST_GH_DESTINATION=<folder> \
    GHOST_GH_REPO=<repo_name> \
    GHOST_GH_REPO_OWNER=<github_repo_owner_username> \
    GHOST_GH_BRANCH=<repo_branch> \
    GHOST_GH_TYPE=token \
    GHOST_GH_TOKEN=<access_token>

#Tell ghost to use the adapter
heroku config:set \
    storage__active=ghost-github
File uploads should be working now!
Disclaimer: I'm no expert with Javascript or NodeJS. I have no idea how Ghost is able to get the config vars from the either environment variables or config files transparently
Links
- Ghost publishing platform. [Source][Official Website][Archive download]
- My fork of ghost-github storage adapter. [Github]
On hindsight, perhaps running everything in a free VM in GCP might be a lot easier. Although connections are metered, the always free tier is rather generous, most likely more than sufficent for a moderate sized website. More on this perhaps next time